User Tools

Site Tools


efficiency_now:building_service:installation_of_a_split_unit

Installation of a split unit

On 29 August 2016 we installed a single-room split air conditioning unit in our demonstration project. Here we will show some photos taken of the installation process. This unit has been in operation for 6 years – this house (156 m²) is heated solely by this unit 1).

PhotoDescription
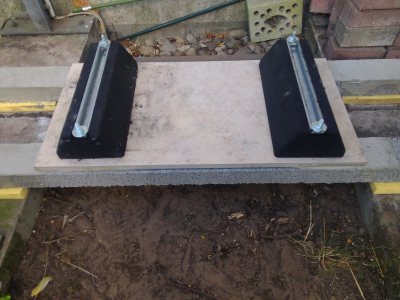
Preparation: rubber feet for decoupling of structure-borne sound were fixed on the outsideof the console. This was very easy with the console used here,because it was possible to use an existing balcony foundation. Ready to use consoles are also available for dowelling onto the exterior wall; in certain circumstances it must be ensured that the console is mounted in a thermal bridge free manner if exterior insulation of the wall is planned at a later time.
The core drilled hole with a diameter of 70 mm is necessary because the pipe with refrigerant will pass through this.
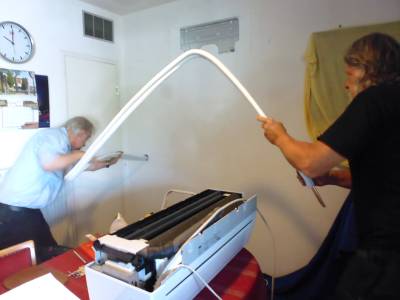
The HVAC technician (for installation of the refrigerant pipe) has arrived, the (thermally insulated) double-circuit line is inserted towards the outside through the drilled hole in the exterior wall The time now is 10:00 a.m. The indoor unit (air handling unit) can be seen on the table in the foreground; the metal mounting plate has already been attached to the wall using dowels.
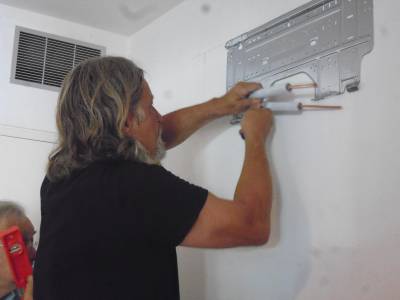
The refrigerant pipes are prepared for airtight connection to the indoor unit (air handling unit). Because it is absolutely necessary to avoid losses due to the refrigerant, a qualified technician must execute this work.The building owner (holding the spirit level) must remain in the background.
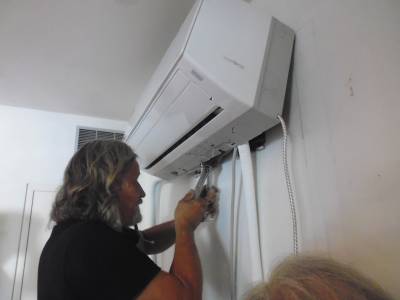
The indoor unit (air handling unit) is now attached to the mounting plate. Installation on the inside is now complete…
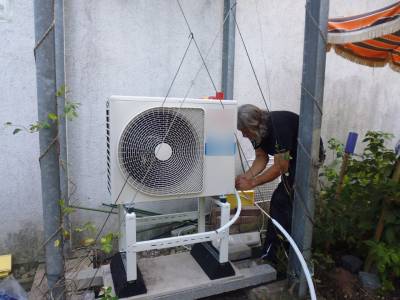
…while the work continues on the outside. The external part of the split unit (compressor/condenser)already stands on rubber feet on the console.The refrigerant pipes are being prepared for connection to the external unit. This work is also carried out by a qualified technician.The picture also shows how small the external unit (compressor/condenser)of such a mini-split air conditioner is.
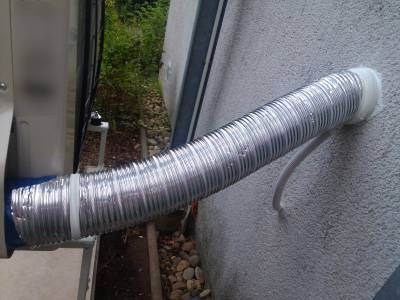
The outside work has also been almost completed…
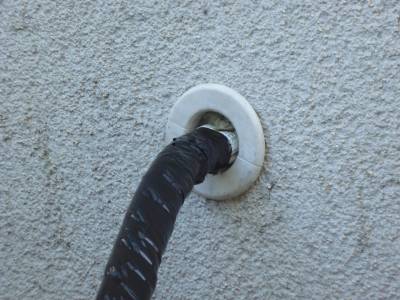
The time is now 12:30 p.m. The work is done. The refrigerant pipe leading out of the exterior wall can be seen here. We thought it was not sufficiently insulated and was not installed airtightly enough, so…
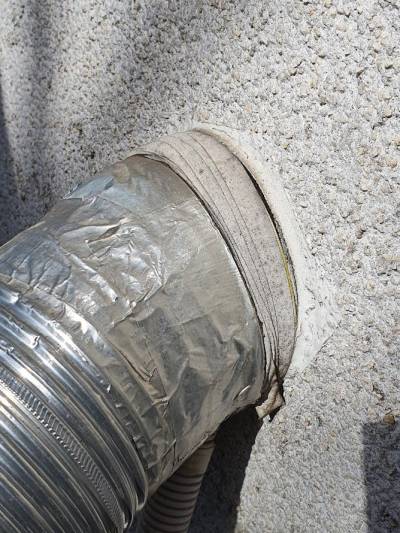
… later on we added insulation to the pipe and neatly sealed it airtightly to the render.This is very easy to do and does not have to be done straightaway.
Here is a picture showing that the connection still looks good even after 6 years.Of course some accumulation of dirt is unavoidable, but there is no leakage.
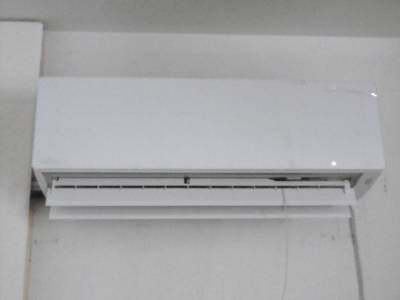
To finish off, here is a picture showing what it looks like on the inside.
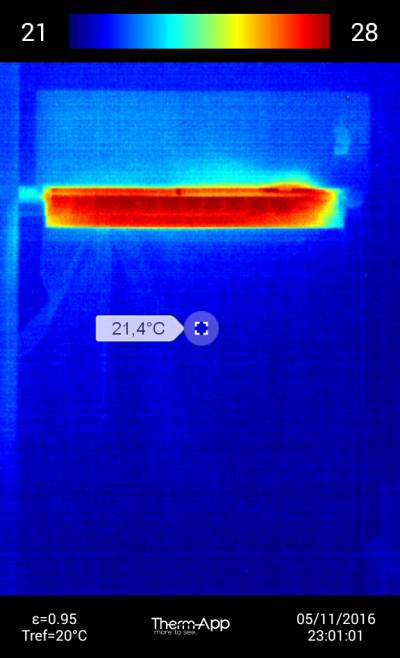
Thermographic imaging shows that the indoor unit takes in room air from above, and after heating it using the working medium blows it out again from below.

The device installed here has already been in operation for 6 years – so far there have been no faults or shortcomings. We have reported elsewhere on the measurements which were carried out with this – here is a brief summary of the experiences gained with operation of this device: "Heating with a single-room air conditioning unit" (German only).

A report (continued) describing how heating using an air-conditioner proved successful during the energy crisis in 2022 can be found here: Especially economical heating (German only).

Back to the "Technology" homepage
Back to the "Energy EfficiencyNOW!" initiative

1)
Of course, this is only possible in a building built to the Passive House standard or one retrofitted to the EnerPHit standard. However, just one such unit can also help save gas and oil consumption in an existing building as well.
efficiency_now/building_service/installation_of_a_split_unit.txt · Last modified: 2023/04/25 16:13 by yaling.hsiao@passiv.de