Table of Contents
Insulation of pipes
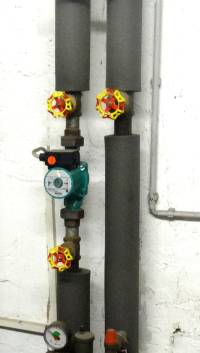 For decades, a minimum standard of pipe insulation has already been regulated by law in Germany in accordance with the Building Energy Act GEG (previously the EnEV, and even earlier the WschVO and HzAnlVO). Unfortunately, practical implementation on a broad scale has lagged behind the targets for the following reasons:
- The requirements were often perceived as “inconvenient” and were implemented only half-heartedly (and often not even planned).
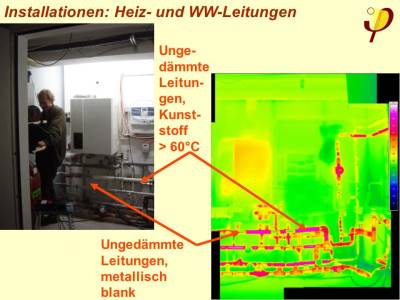
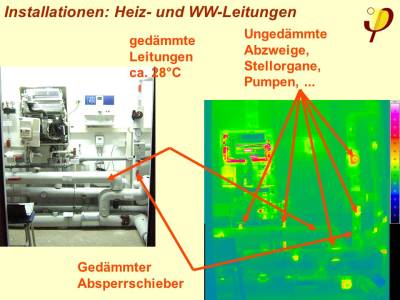
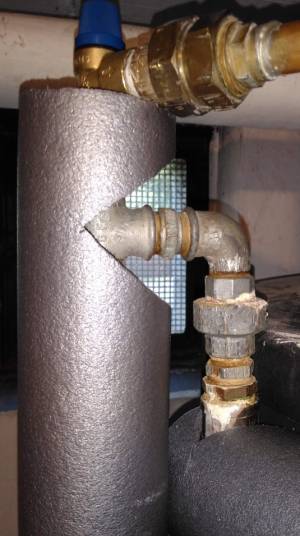
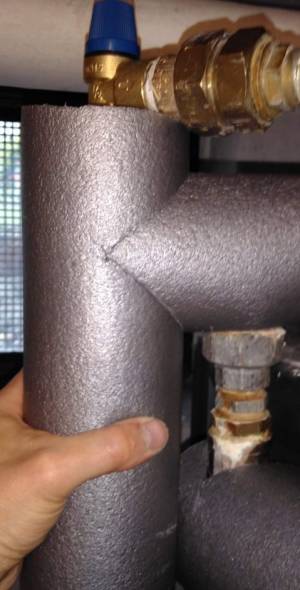
- Although many existing “insulated” pipes are executed in an apparently good way on the outside, e.g. with neatly placed end caps - bare pipe sections are visible at every bend, attached fittings and at the connection to the storage tank. These constitute huge thermal bridges which decisively diminish the effectiveness of the insulation.1)
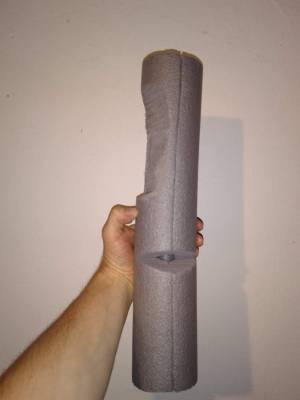
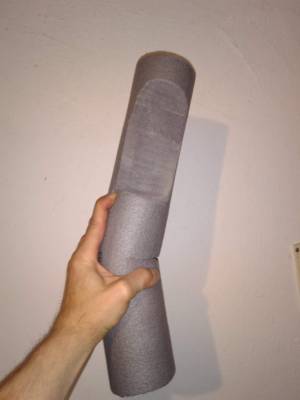
- Implementation of these measures was left to very poorly paid insulation installers/laggers who “got the job done” as quickly as possible by sliding the pipe insulation sheaths/shells/pipe lagging onto the pipes and then turning the still open slit towards the back (so that it was not visible).
Subsequent insulation of weak points of heat-carrying pipes and heat storage tanks
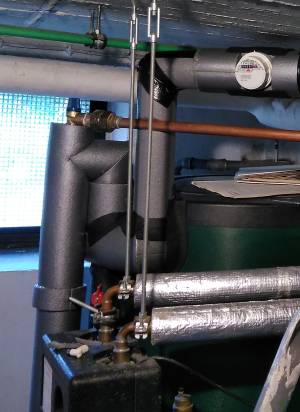
In the case of heat-carrying pipes (containing heating water or domestic hot water), storage tanks, fittings and so on, with very few exceptions, improving the insulation is always expedient and does not present any risk as long as approved insulation materials are used. In particular, installing insulation subsequently at all those places where the pipes or fittings feel warm (or even hot) to the touch is quick and easy. Even inexperienced persons can easily carry out these measures, further details can be found here2) . Exceptions:
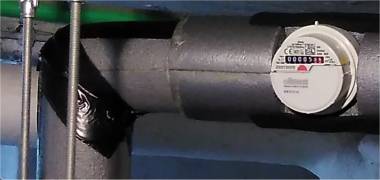
- Electronic installations (e.g. heat meters) sometimes cannot tolerate the temperature level of the heating water and are therefore deliberately designed with “heat losses”. Caution is necessary here; this is usually noted in technical documents, if these can be found. There are also examples of exemplary fixtures/taps which are supplied already encased in insulation, which can be integrated into the insulation of the system.
- Care should be taken in the case of pipes carrying cold mediums (e.g. cold drinking water). These can be identified by touching them. Their insulation usually does not have to be improved, neither should they be insulated “by mistake” or for the sake of convenience 3).
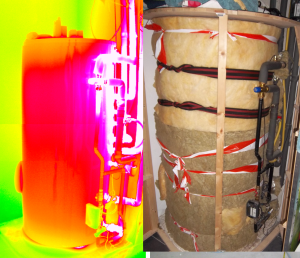
Hot water tanks in particular are often completely inadequately insulated (see thermographic image). Air (from below) often enters under the insulation and heats up at the surface of the tank and escapes as hot air in the upper area due to gaps, especially if the insulation jacket is not closed or does not lie against the tank (tight fit). Such losses can often be reduced easily and effectively with additional insulation (see picture on the right). It is especially crucial to prevent the passage of air along the (surface of the) tank - the insulation is pressed against the storage tank due to the “bandaging”. In particular, gaps where pipes enter the tank may then have to be packed with insulation as well. These measures cost little and require only a little time investment; lots of soft insulation materials are suitable for this purpose. In this example, this measure reduced the losses by approximately half (!) and thus saved around 4 kWh/(m²a) 4).
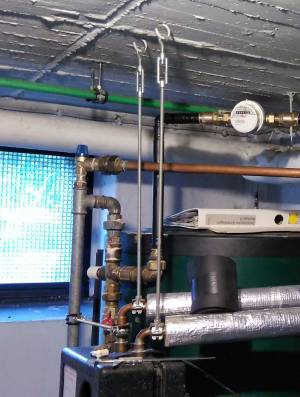
The fact that the potentials of pipe insulation are not yet fully utilised even with insulation of single pipes is demonstrated in the picture of the insulation of heat-carrying pipes (forward and return flow for heating, the hot water and circulation return pipes) during the construction of the first Passive House building in Darmstadt Kranichstein: the four individually “minimum insulated” pipes (25 mm) were enclosed in a single jacket of 100 mm thick insulation matting.
We have experienced again and again how completely surprised users are when they see that the greatest proportion of their costs for the hot water supply is due solely to compensating for the losses. Although it is not possible to bring these down to zero, it is possible to reduce the losses considerably.
Implementing insulation of pipes
Detailed instructions can be downloaded here: DIY instructions for insulation of pipes.
The commissioner for energy saving in Germany actually made a video on this. It's really easy, anyone can do it. In addition, the materials for this are not expensive. The costs can be recovered again after one year, or at the latest two years. Incidentally, the energy needed to manufacture this kind of material (whether polyolefin foam or mineral wool) can even be saved again in a period of time less than the first heating period. The commissioner is right: get started right now if there are any uninsulated places somewhere in the pipe network.
By the way, it is our advice and also makes sense to use the maximum possible insulation thickness while you're at it. Even 200% insulation is not excessive; the material costs are minimal, maybe it will take a little longer, but it will still be worth it.


